Build with agents in VS Code
Visual Studio Code comes with AI agents built in. Describe a task in natural language and an agent plans the approach, edits files across your project, runs commands, and self-corrects until the work is done. Agents stay in the flow of how you already work, so you can focus on intent and review instead of typing every line.
Make sure agents are enabled in VS Code settings ( chat.agent.enabled This setting is managed at the organization level. Contact your administrator to change it.). If your organization has disabled agents, contact your GitHub organization admin.
What you can do with agents
Agents handle real coding tasks end-to-end. A few common ones:
- Plan before you code: use the Plan agent to produce a step-by-step implementation plan you can review and refine before any file changes.
- Build new features: describe what functionality you want and let the agent scaffold UI, wire up state, and update tests.
- Prototype and explore variants: spin up quick proofs of concept or generate multiple design variants of the same feature in parallel, then keep the one that works best.
- Refactor at scale: rename, restructure, or migrate code across the workspace, with the agent tracking what still needs to change.
- Build and test web apps: drive a running web app from chat to verify behavior end-to-end in the integrated browser.
- Debug and fix failing tests: point an agent at a stack trace or a red test and have it find the root cause and apply a fix.
Get started
AI features are built into VS Code. To enable them, sign in with your GitHub account:
-
Select Sign In from the VS Code title bar or hover over the Copilot icon in the Status Bar and select Enable AI features. If you don't have a subscription, you are signed up for the free plan with monthly limits on suggestions and chat.
-
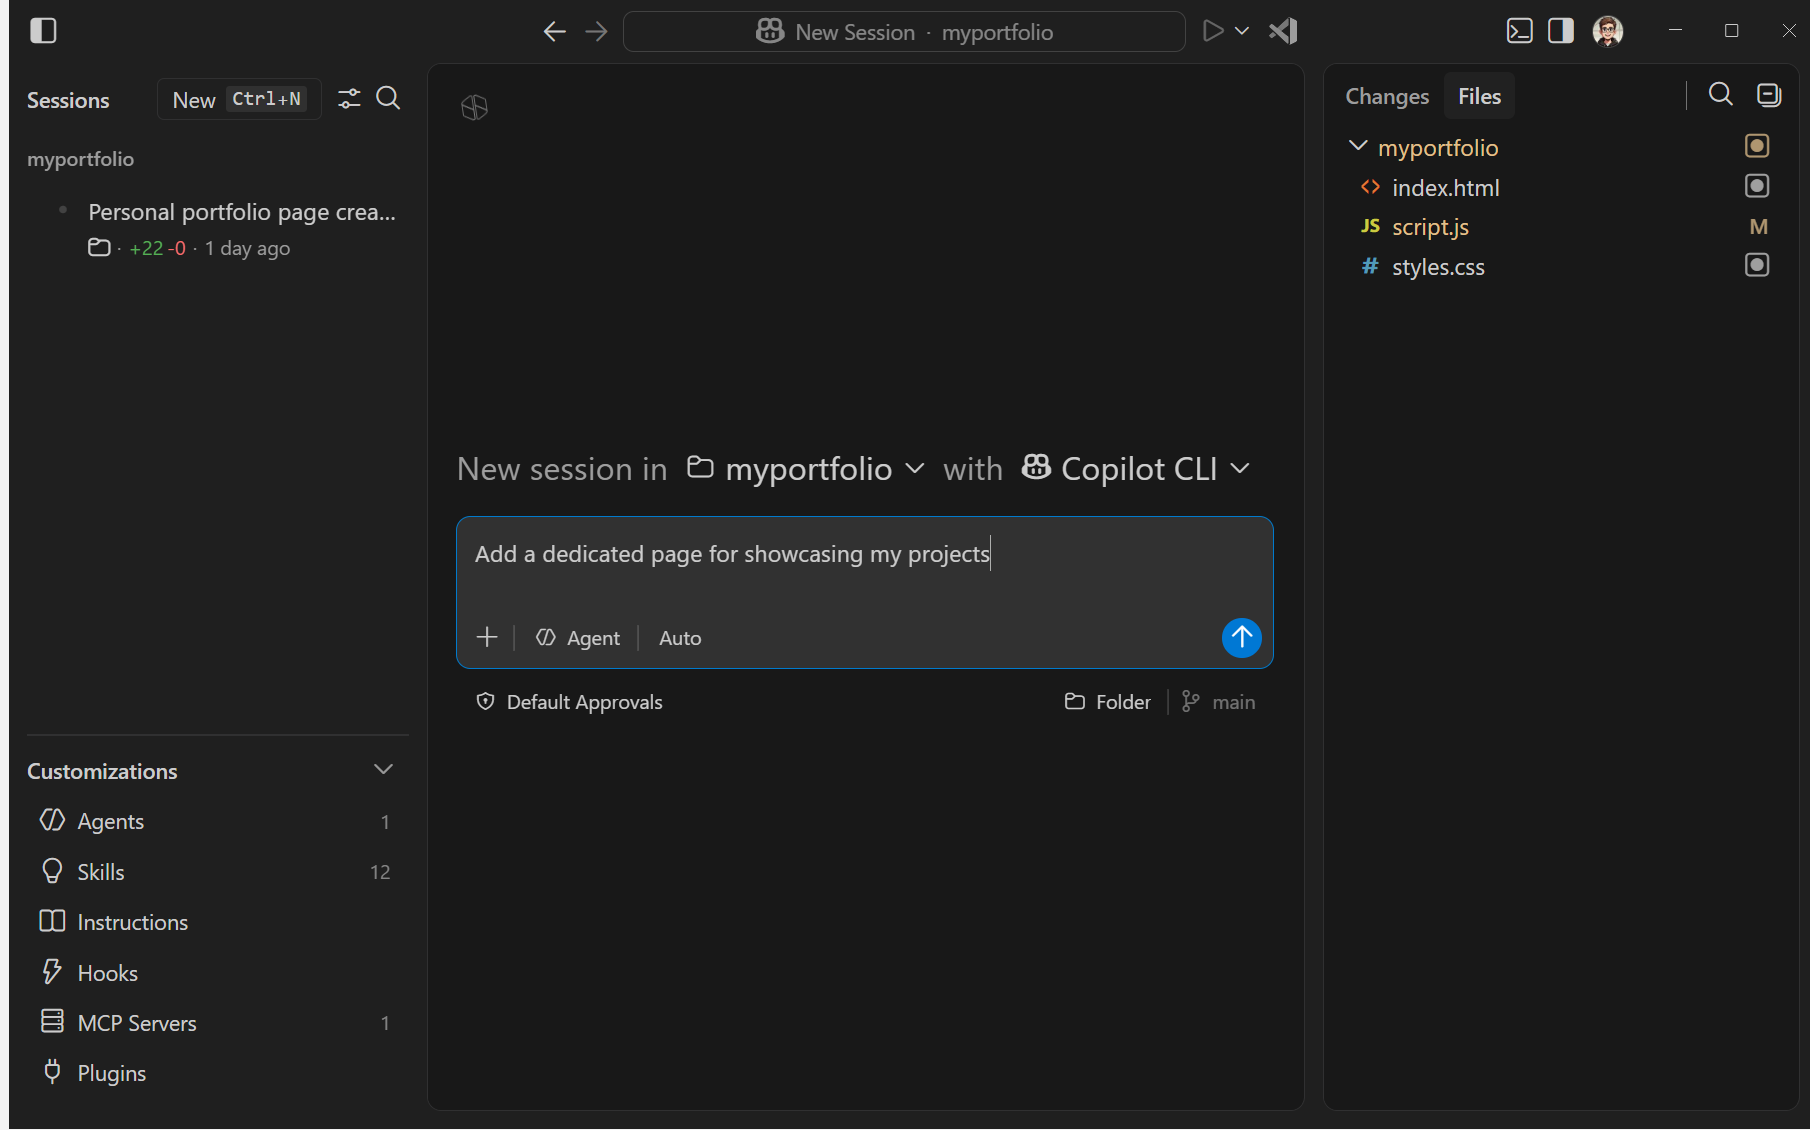
Select Open in Agents from the VS Code title bar.
-
Select a workspace folder and select the Copilot CLI agent to start a session.
-
Enter a prompt describing what you want to do, such as "Add a dark mode toggle to the header and make sure it works on mobile".
You can also bring your own API key to use models from any provider without a Copilot subscription. Learn more about language models.
Choose how you work with agents
VS Code gives you two main surfaces for working with agents: the Agents window and the Chat view. Pick the one that fits your current task and switch freely between them. Both share the same agent sessions, letting you start a session in one and continue it in the other without losing context.
The choice comes down to your approach and your scope. The Agents window is agent-first and works across all your workspaces from a single window, so it's ideal when you assign high-level tasks and orchestrate multiple agents in parallel across projects. The Chat view is code-first and is scoped to the workspace you have open, so it's ideal when you give the agent coding tasks and stay close to the code it produces.
The Agents window (Preview) is a dedicated window focused on chat as the primary interface. It works across all your workspaces from one window, so you can assign high-level tasks, evaluate the outcomes, and run and track multiple agents in parallel. The Agents window is optimized for agent-first workflows.
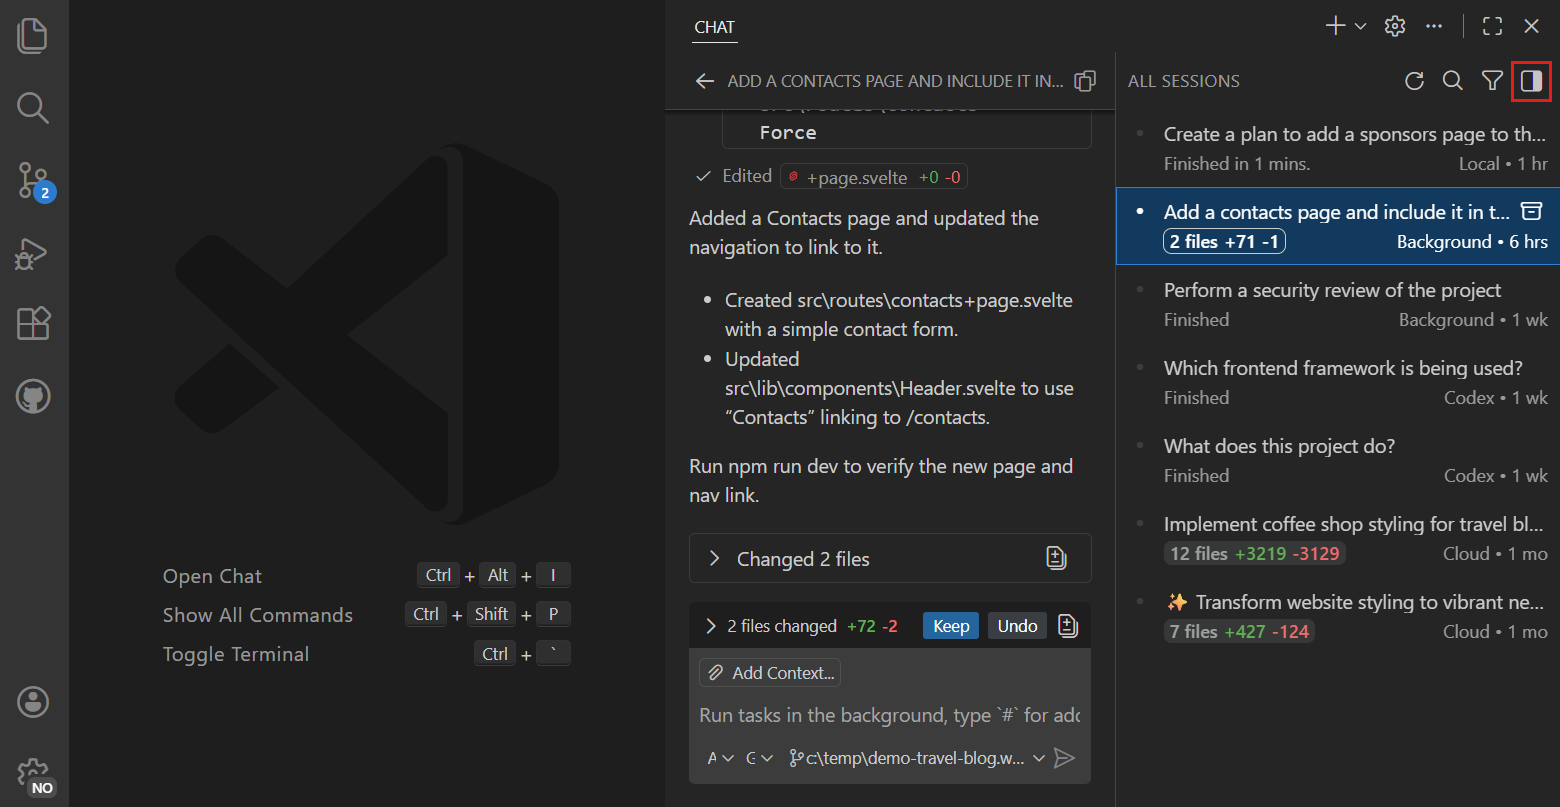
The Chat view is a chat panel in the sidebar, next to your workspace editor tabs. It's scoped to the workspace you have open in VS Code, so you can give the agent coding tasks, review the code it produces, and keep an agent focused on the code you're actively working on. The Chat view is optimized for code-first workflows.
Configure your agent session
Each agent session has a few settings that control how it runs. Choose them when you start a session and adjust them at any time as your task evolves.

| Choice | Description |
|---|---|
| Agent type | Where the agent runs and how you interact with it: interactively in VS Code with local agents, in the background on your machine with Copilot CLI, remotely on GitHub's infrastructure with cloud agents, or through a third-party provider like Anthropic or OpenAI. You can hand off an in-progress session to a different agent type, for example to pass a local Plan session to Copilot CLI or a cloud agent. |
| Agent | The persona that shapes how the agent approaches a task and which tools it can use. Pick a built-in agent (Agent, Plan, Ask) or use a custom agent for a specialized role like a security expert or documentation writer. |
| Language model | The model that powers the agent's reasoning. Pick a fast model for quick edits and questions, or a stronger reasoning model for complex, multi-step or research work. |
| Permission level | How much autonomy the agent has to run tools and terminal commands, from approving every action to letting it work on its own. |
Tailor agents to your codebase
Agents work best when they understand your project's conventions and have the right tools. VS Code gives you several ways to tailor agents so they produce code that fits your codebase and team practices from the start:
-
Set coding standards: define project-wide rules and conventions with custom instructions so agents generate code in your style.
-
Automate repeatable tasks: capture common prompts in prompt files, or package multi-step workflows with scripts as agent skills.
-
Specialize the agent: create custom agents for personas or roles like code reviewer, security expert, or tester.
-
Connect external tools and data: add MCP servers to reach databases and APIs, and use hooks to run scripts at key points in an agent session.
To decide which option fits your goal, see customization concepts. For setup steps and examples, see customizing agents. You can also install plugins to add pre-packaged bundles of these customizations from the Marketplace.
Trust and control
Agents can read and edit files, run terminal commands, and call external services. VS Code keeps you in control: approve or deny tool calls before they run, set a permission level that matches the autonomy you are comfortable with, and enable agent sandboxing to restrict file system and network access at the OS level. Learn more about trust and safety and AI security.
Organizations can centrally manage which AI features, models, and tools are available across their teams. Admins define policies that control agent capabilities, restrict MCP servers or extensions, and enforce compliance requirements, so developers get a consistent, governed experience out of the box. Learn more about enterprise AI policies.