Tutorial: Agentic coding in VS Code
In this tutorial, you learn how to build with AI agents in Visual Studio Code. Agents can plan a solution, create and edit multiple files, run commands, and fix their own errors, all from a single natural-language prompt. You describe what you want, and the agent does the work.
You start in the Agents window, a dedicated surface for an agent-first workflow. Then you switch to the Chat view, where an agent assists you while you work in the editor. Along the way, you pick up the VS Code basics you need, like opening a workspace, using the integrated browser, and committing your changes with source control.
You build a simple personal portfolio page with HTML, CSS, and JavaScript. The page is fully static, so you don't need to install any runtimes or build tools to follow along.
Get familiar with the VS Code user interface, editing features, and key productivity tools.
Prerequisites
If you don't have a Copilot subscription yet, you can use Copilot for free by signing up for the Copilot Free plan and get a monthly allowance of inline suggestions and AI credits.
Create a project folder
Agents work in the context of a folder, also known as a workspace. You start by creating a folder for your project. You don't need to open the folder in VS Code yet. In the next step, you open it in the Agents window, which lets you work across multiple workspaces without opening a separate window for each one.
-
On your computer, create a new folder named
myportfolio. -
Put the folder under Git version control to track changes. Open a terminal and run the following commands:
cd myportfolio git initTipYou can also initialize a repository from the Source Control view in VS Code.
Build features with the Agents window
The Agents window (preview) is a dedicated window in VS Code that is optimized for working with agents across all your projects without needing to open a separate VS Code window for each one.
In this part, you open your folder in the Agents window and task an agent to build your portfolio page.
Open the Agents window
-
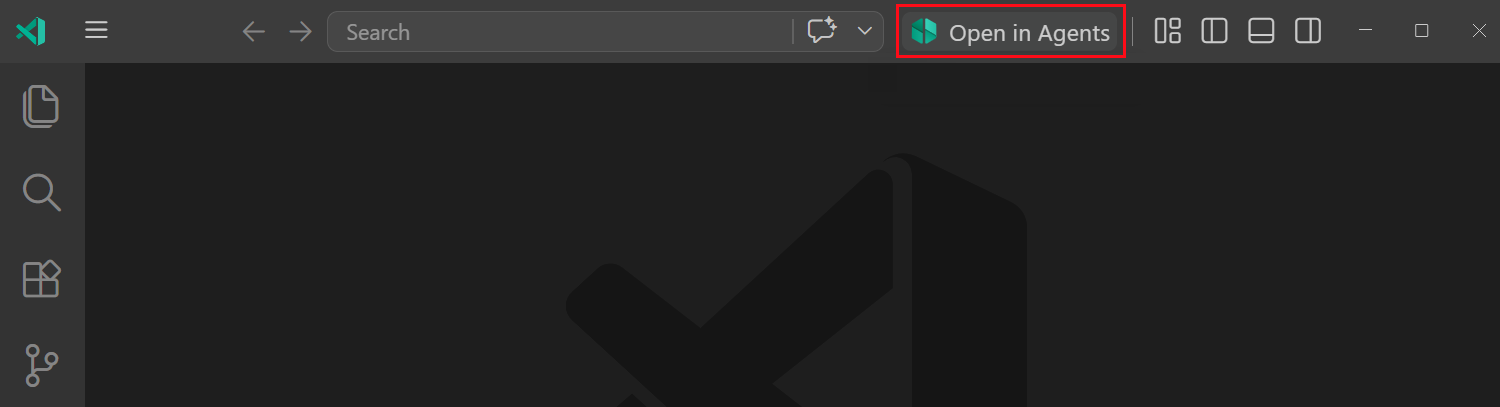
In VS Code, select the Open in Agents button in the VS Code title bar.
You can also open the Agents window from the VS Code welcome page, or run the Chat: Open Agents Window command from the Command Palette (⇧⌘P (Windows, Linux Ctrl+Shift+P)).
-
If you're prompted to sign in, select a sign-in method and continue.
The Agents window needs access to your GitHub Copilot subscription to run agent sessions. If you're already signed in to GitHub in VS Code, you're signed in here too.
Start an agent session
-
Select New at the top of the left sidebar to start a new session.
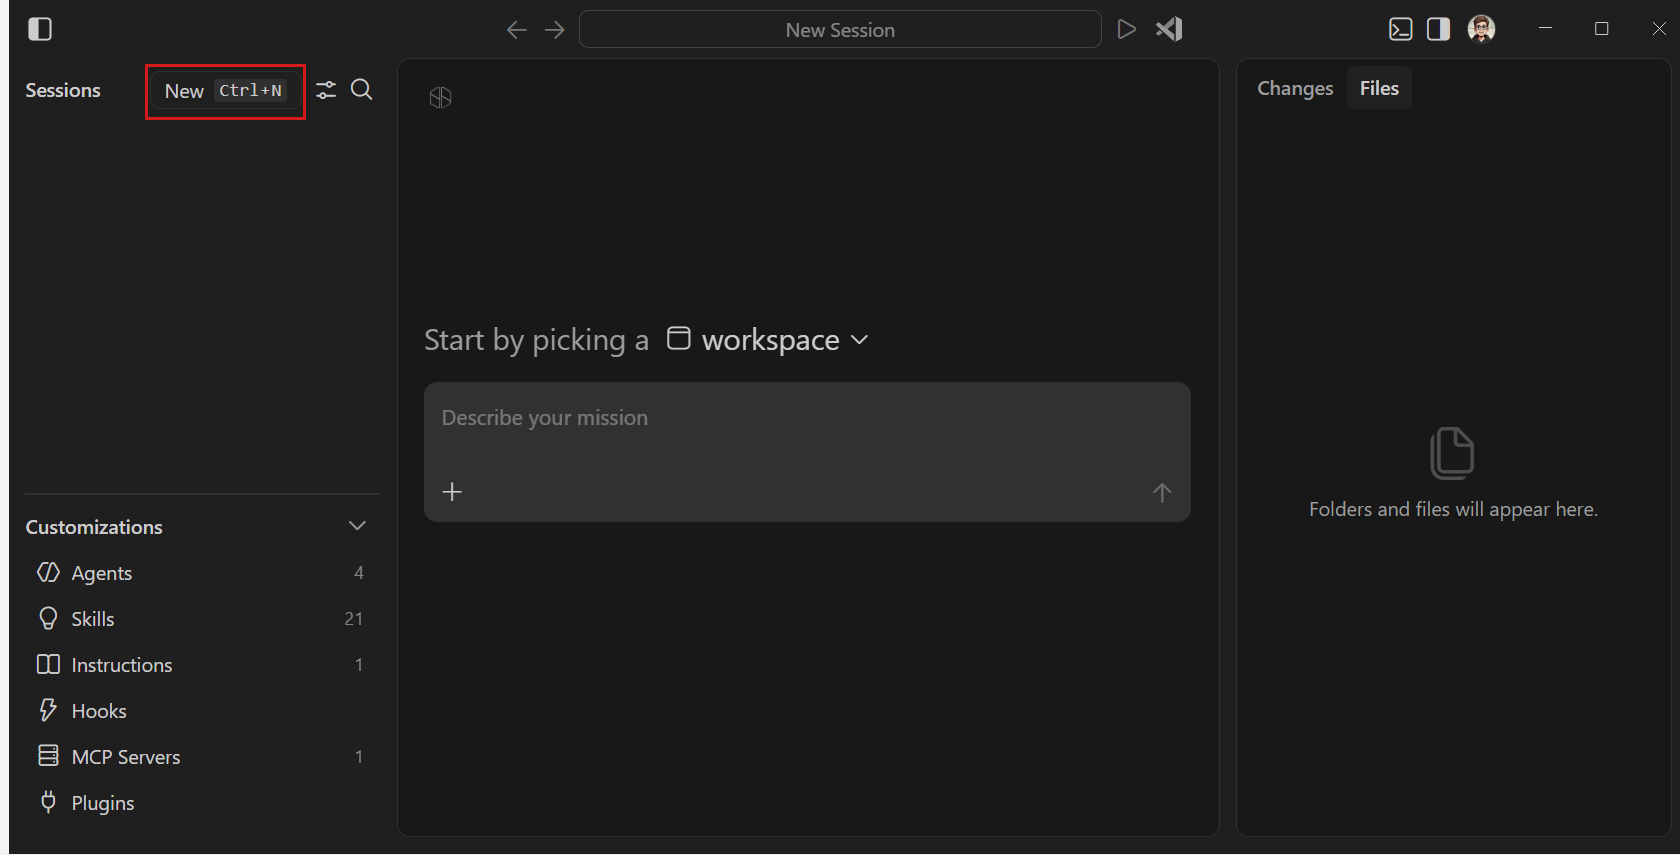
The sidebar shows your list of active agent sessions, grouped by workspace. You can use the sessions list to switch between sessions. In the bottom left, you can configure customizations to modify the agent's behavior to match your coding practices.
-
In the workspace dropdown, select the
myportfoliofolder on your machine.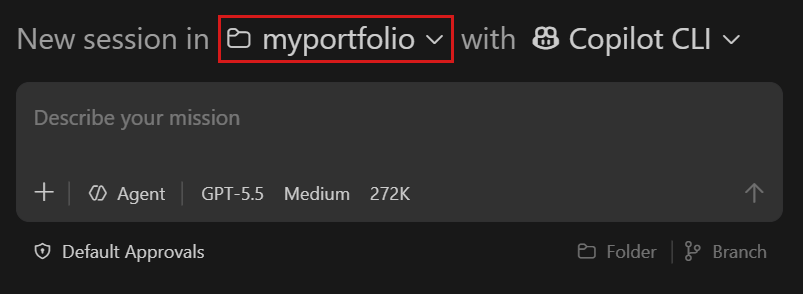
If you're prompted to trust the folder, select Yes, I trust the authors.
ImportantWorkspace Trust lets you decide whether code in your project folder can be executed. When you download code from the internet, you should first review it to make sure it's safe to run. Get more info about Workspace Trust.
-
Make sure the Copilot CLI agent type is selected. This indicates that Copilot CLI runs the agent session on your local machine.
VS Code installs and configures Copilot CLI for you, so there's nothing extra to set up.
-
Keep the other default configuration options:
- Agent: the generic agent for performing the task. For specialized tasks, you could create custom agents, like a code review or testing agent.
- Language model: depending on your setup, you can choose from multiple language models and configure additional settings.
- Default Approvals: the agent will automatically approve safe actions but will ask for your approval for potentially risky actions.
- Folder & branch: the agent works directly on the files in your folder and commits to the current branch.
-
Enter the following prompt in the chat input and press Enter:
Create a personal portfolio page with HTML, CSS, and JavaScript in separate files. Include a header with my name and a short bio, a section for projects with cards, and a contact section. Use modern styling and add some sample content. -
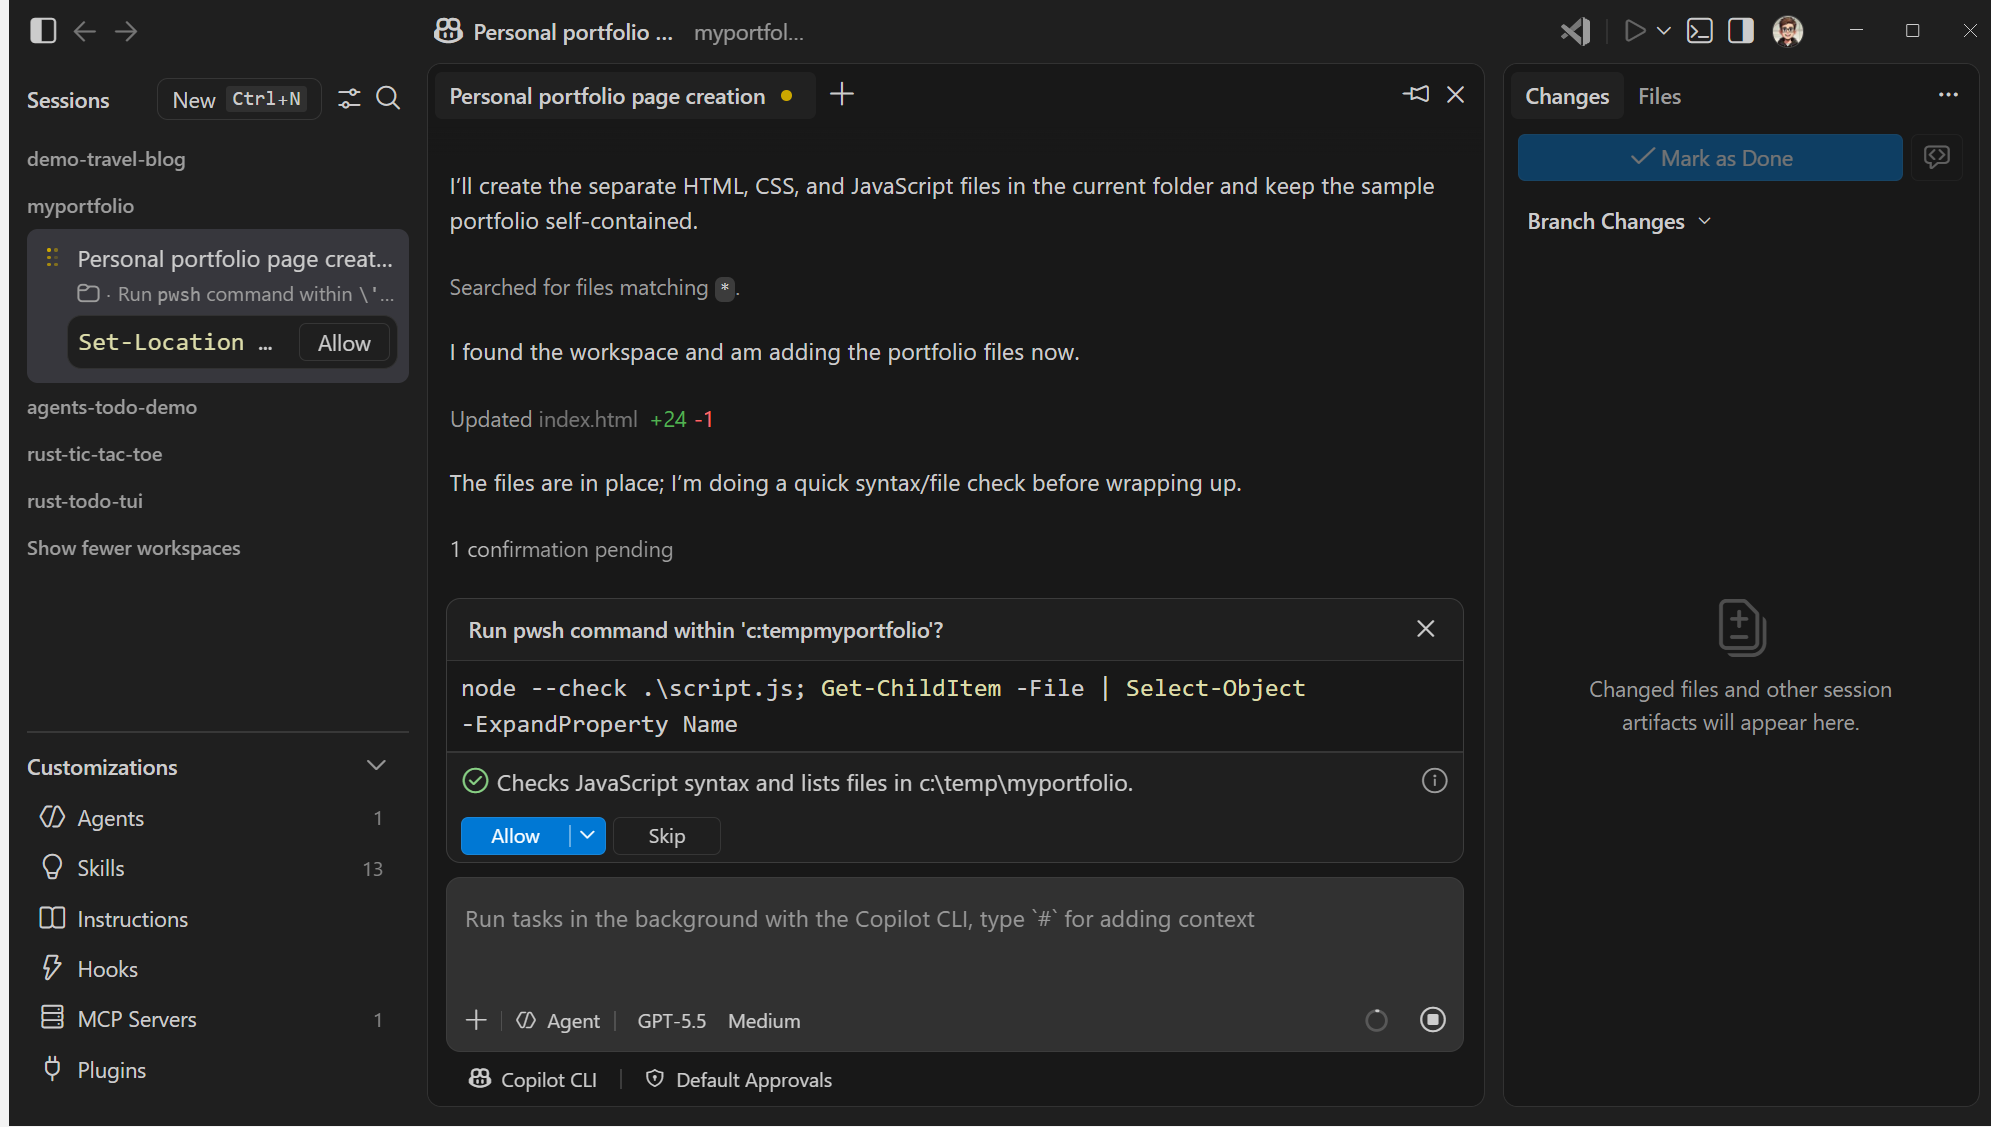
The agent analyzes your request, plans the work, and then starts creating and editing files. If it encounters errors, it self-corrects or asks for clarification and approval.
Preview and iterate on the design
The Agents window is great for workflows where you hand off tasks to the agent and then validate the outcome, rather than the specific code. For web-based applications, you can preview the agent's work in the integrated browser without having to leave VS Code.
To preview the generated portfolio in the integrated browser:
-
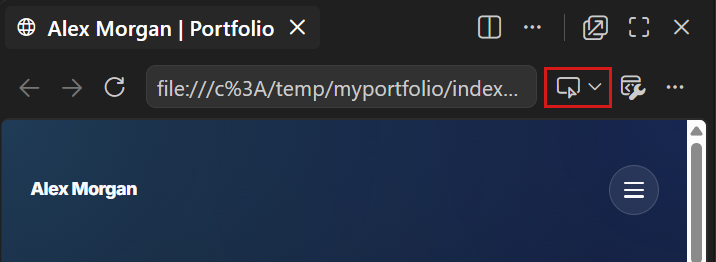
The Files panel shows the files the agent created. Right-click the
index.htmlfile and select Open in Integrated Browser.If you don't see the option to open in the integrated browser, make sure you are in the Files panel.
 Tip
TipSelect the Open in Editor Area button in the modal window title bar to view the browser alongside the chat conversation.
-
Let's make a design change to the page. In the integrated browser, select the Add Element to Chat button to enter selection mode.
-
Hover over the page and select an element you want to change, for example select the main title.
The agent adds the selected element to your prompt as context, including its HTML, CSS, and a screenshot.
-
In the chat input, enter a prompt that describes the change you want, and press Enter. For example:
Use a gradient color for the text and use cursive. -
The agent applies the change to the element you selected. Refresh the page in the integrated browser to see the updates.
The integrated browser lets you view and iterate on the agent's work without switching context.
Review and commit the changes
Before you commit the agent's work, you might want to review the actual code changes that the agent applied. The Changes panel lists every file the agent created or modified during its session. To review and commit the file changes:
-
Select the Changes panel to see the list of files the agent added or modified. Each item also shows change stats and an add/delete/update indicator.
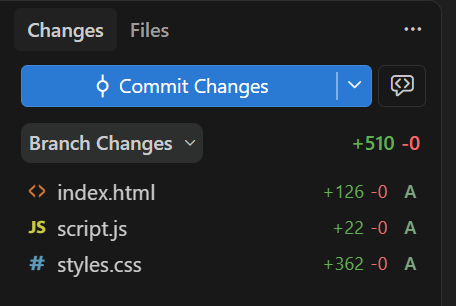
Notice that the summary change stats are also shown in sessions list.
-
Select a file to open the diff view and review the agent's edits. You can move between the different files with the navigation controls in the title bar.
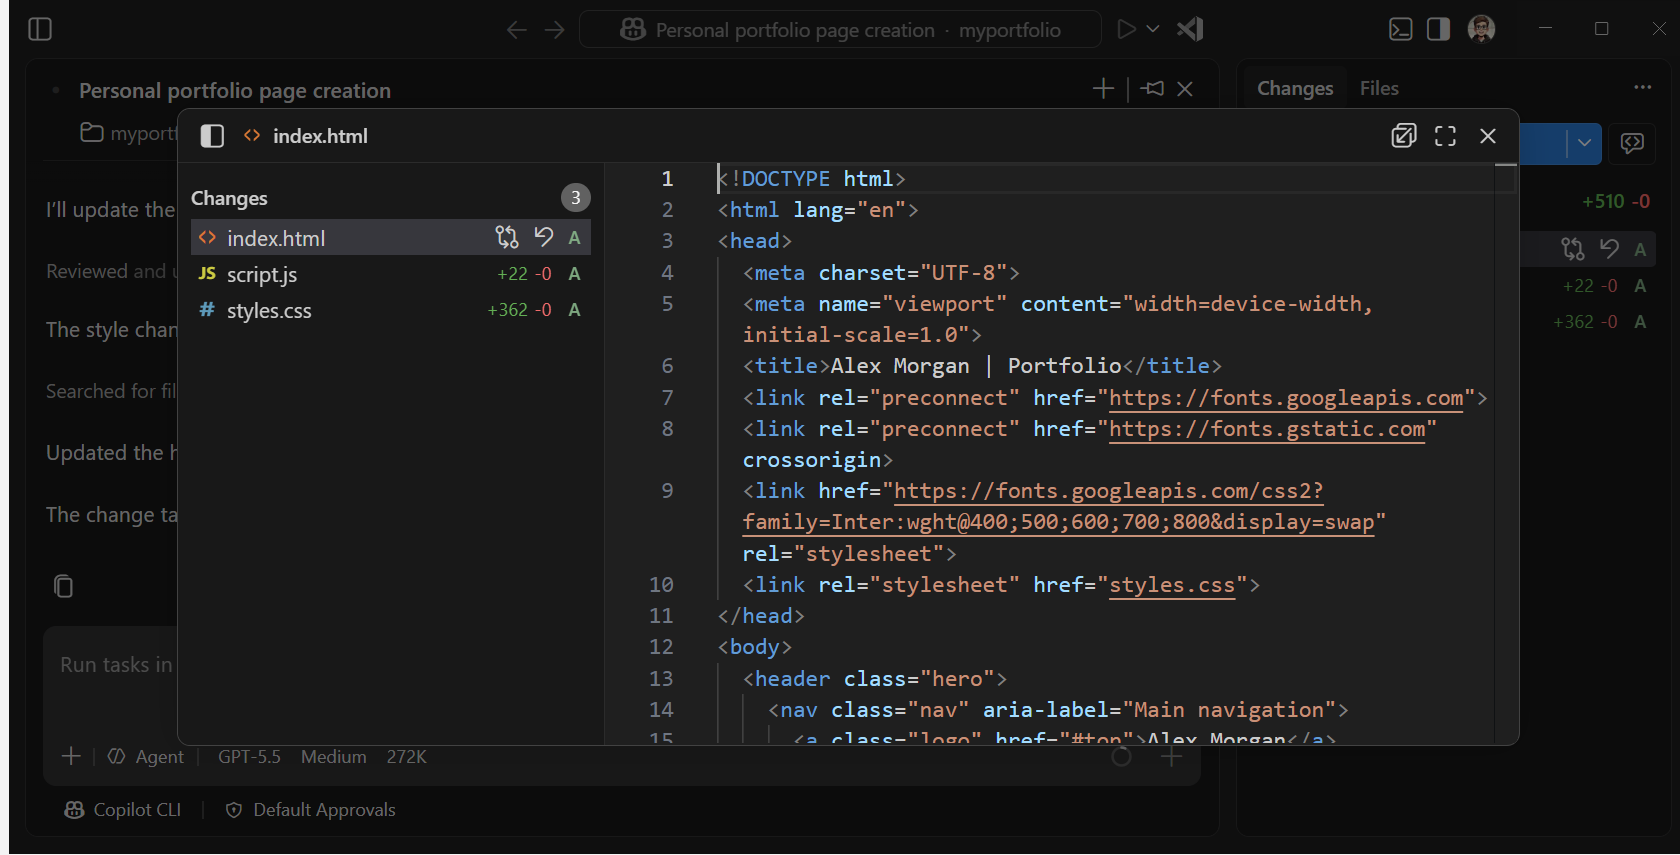
In this case, all files were newly created, so the diff view shows all lines as additions. For modified files, you'll see both additions and deletions.
TipWhen you select a block of text in the diff view, you can submit inline feedback to the agent about that specific part of the code.
-
Close the diff view and select Commit Changes in the Changes panel to save the agent's changes to your Git repository.
After committing the changes, the Changes panel is back empty because there are no pending changes. The change stats are also cleared from the entry in the session list.
Write code with agents in the editor
For some changes, you might prefer a code-first approach, where your focus is on writing code and agents help you in the process. For example, you might want to add a theme switcher and fine-tune the styles as you go. For this approach, you switch to the editor and use the Chat view.
Open the editor for your workspace
-
In the Agents window, select the Open in Editor button in the title bar to open the active workspace in the editor.

This opens a new VS Code window with your workspace. The Chat view is still open in the right sidebar, so you can interact with agents while you work in the editor.
-
Notice that the left sidebar shows the Explorer view, which displays the files in your workspace. Select a file to open it in an editor tab in the main area.
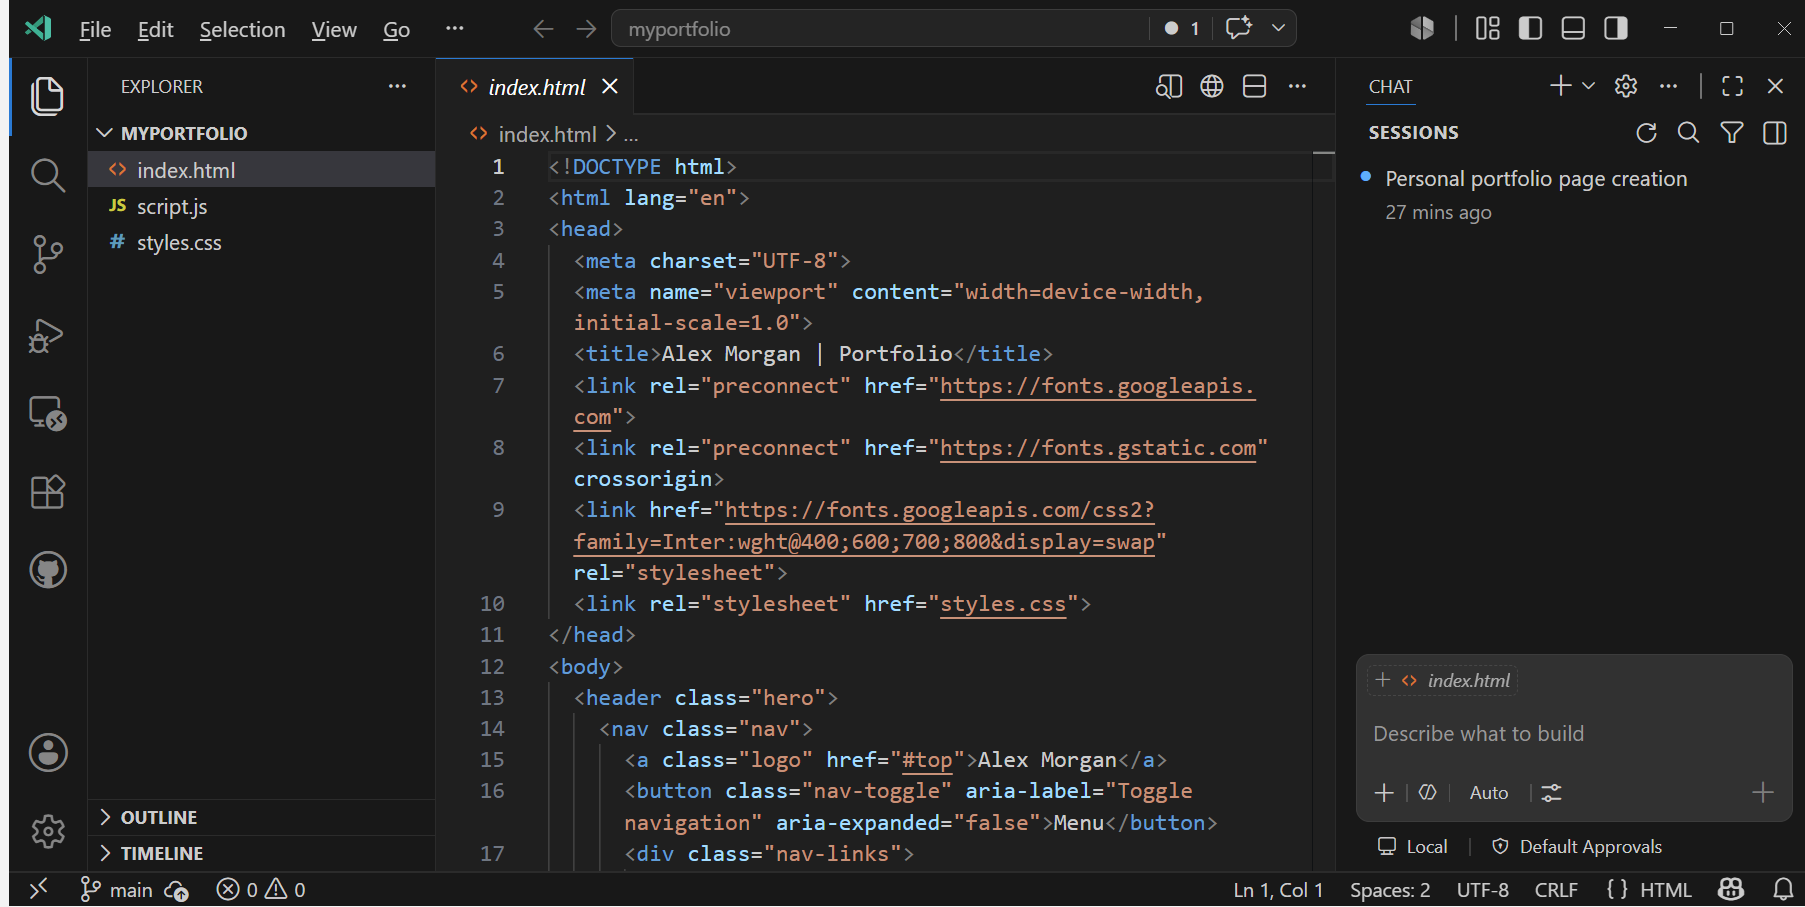
The Chat view in the right sidebar shows the ongoing agent session you created previously in the Agents window.
Start a new session from the Chat view
The Chat view is located in the right sidebar of the editor, alongside your editor tabs, and is optimized for letting agents assist you while you're writing code.
In this step, you start a new session to run an agent to add a theme switcher to your portfolio page. The agent applies the changes directly to your files, and you can review them as inline diffs in the editor.
-
Select New Chat (
+) to start a new session.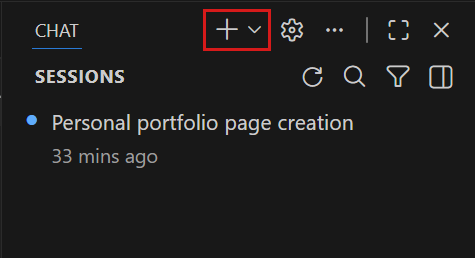
-
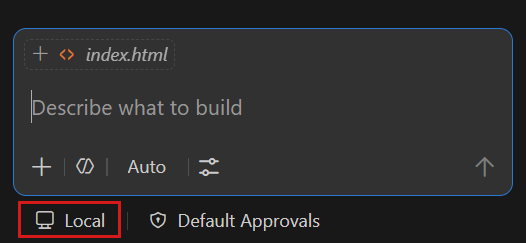
Make sure Local is selected from the Session Target dropdown to run the agent in the context of the editor, with access to your files, tools, and the integrated browser.
-
Enter the following prompt in the chat input and press Enter:
Add a theme switcher button that toggles between a light and dark color theme for the page.The agent applies the changes to your files. You can see the changes stream into the editor in real time as inline diffs.
-
The Chat view shows the list of changed files. Open a file to review the changes directly in the editor, where you can use the overlay controls to Keep or Undo individual edits.
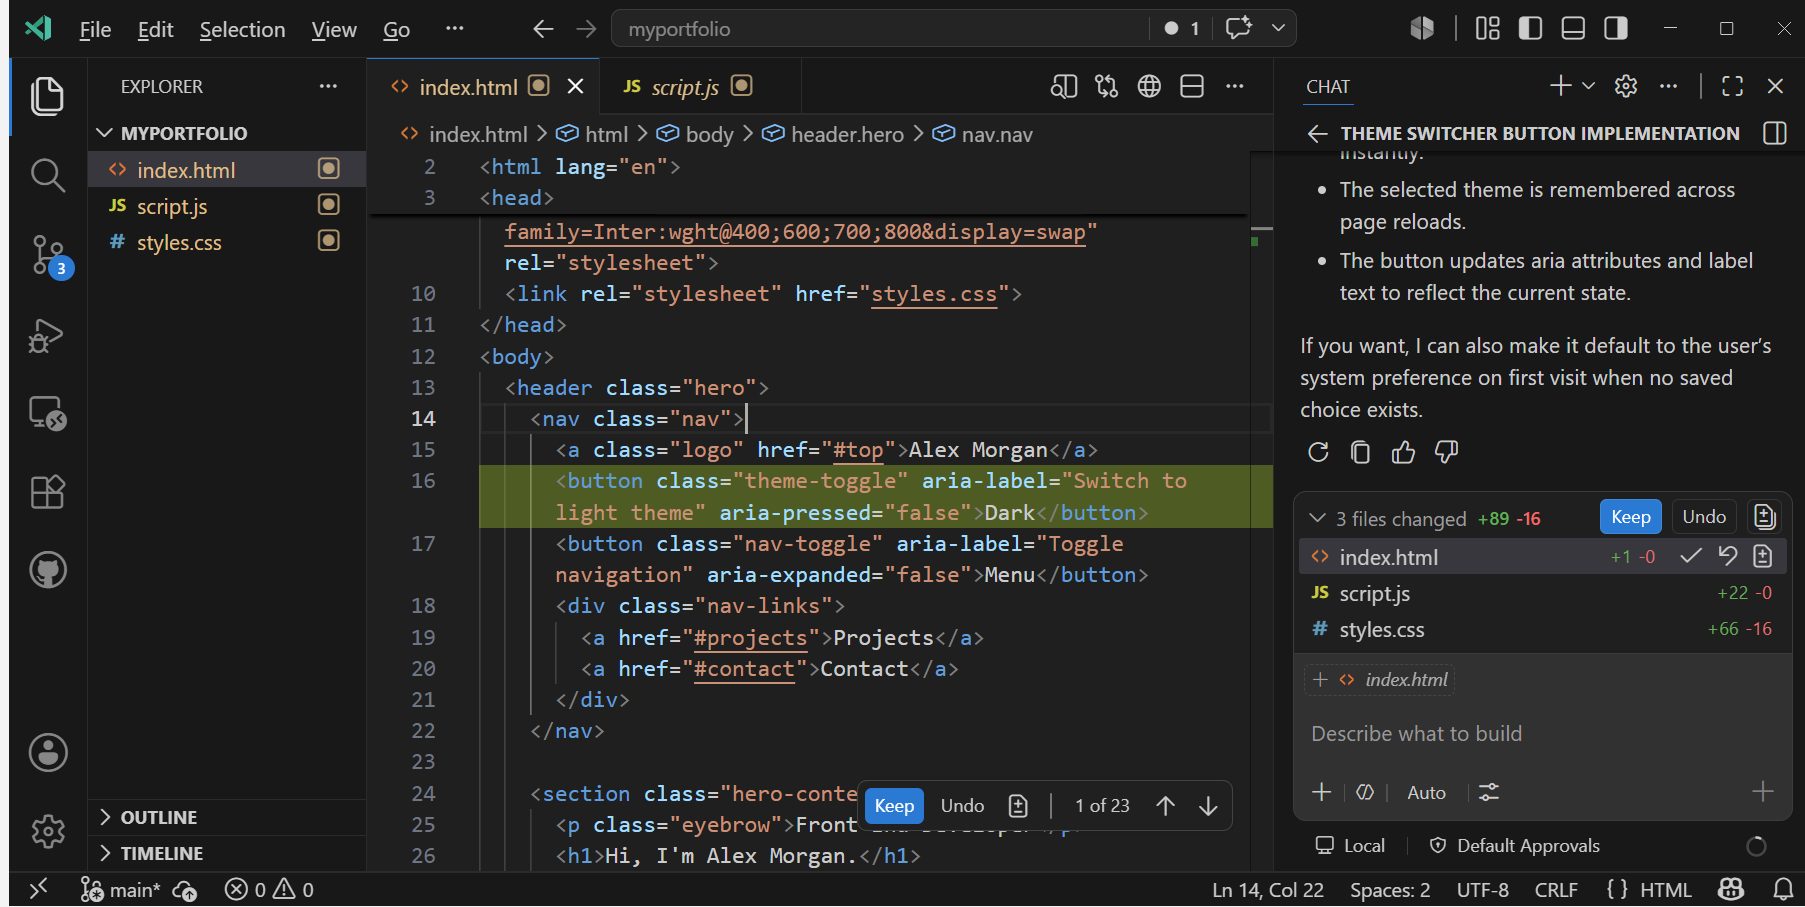
Select Keep to accept the changes.
-
Select the
index.htmlfile and select the Open in Integrated Browser (globe) button in the title bar to preview the page with the new theme switcher in the integrated browser. -
Ask the agent to preview the page and validate the new feature itself in the browser. This way, the agent can iterate on its changes based on what it sees in the browser. Enter the following prompt and press Enter:
Verify that the theme switcher works correctly and review the design aligns with the rest of the page. If there are any issues, fix them.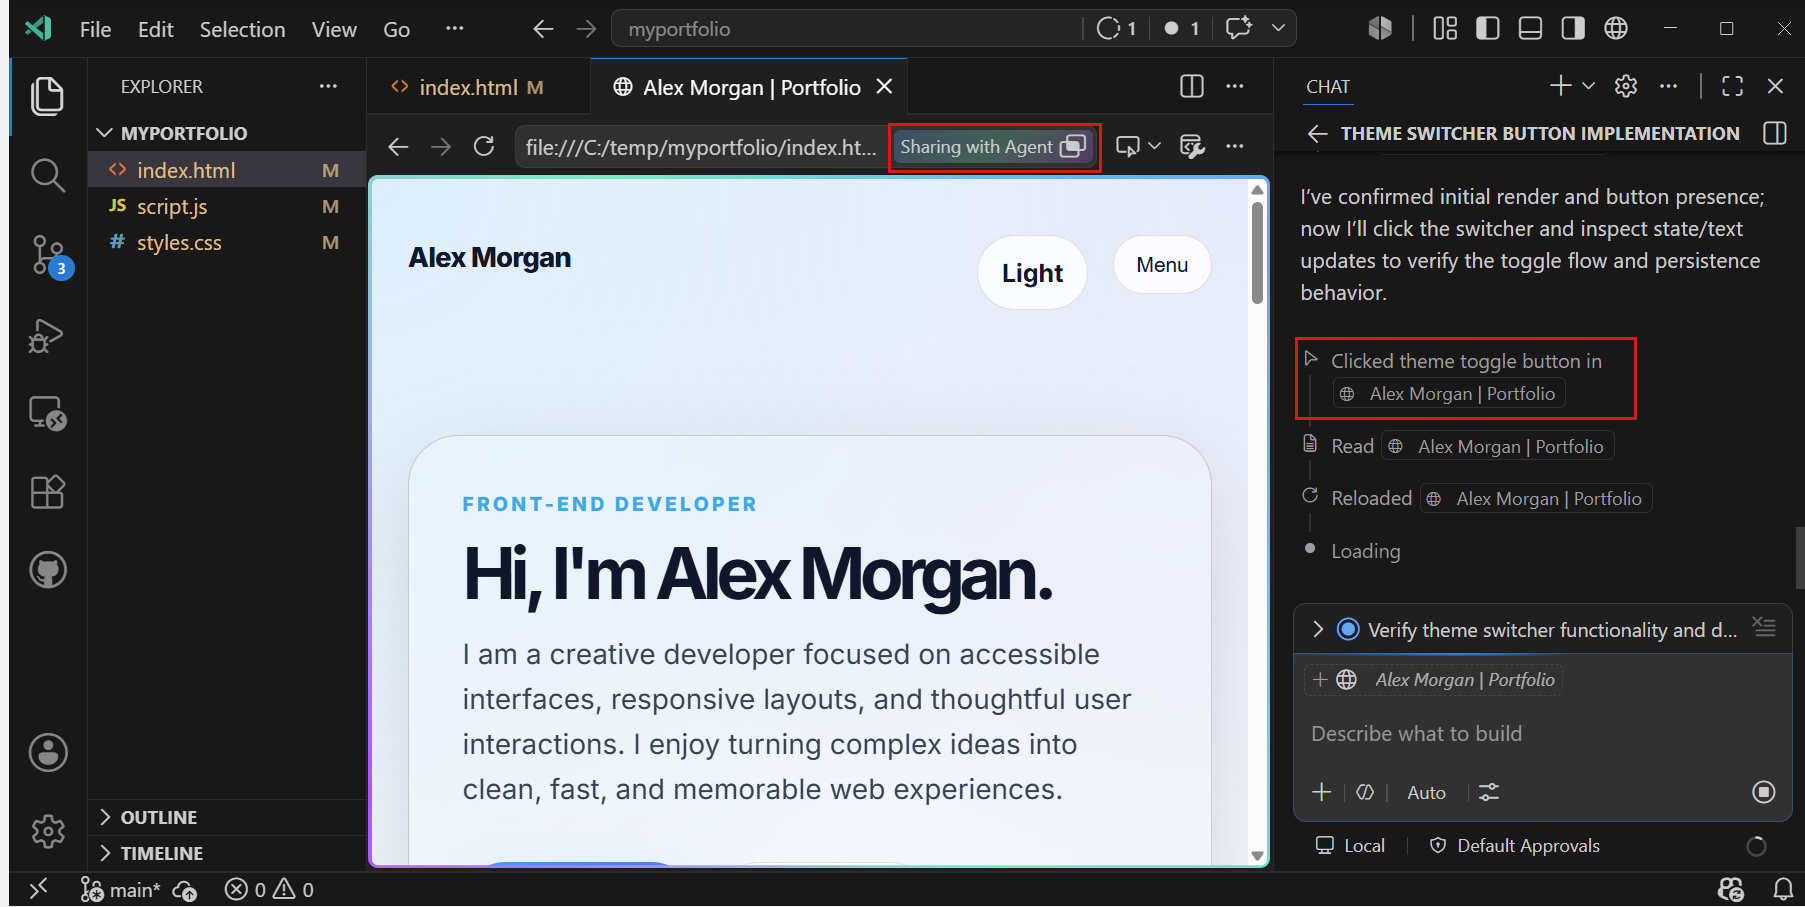
The agent asks to approve opening the integrated browser. Select Allow in this session to let the agent access the browser for previewing and validating its changes.
Congratulations! You built a portfolio page by using AI agents, where you used both an agent-first and code-first approach. You used the integrated browser to let the agent preview and validate its own changes.
Next steps
To go deeper with agentic coding in Visual Studio Code, get more info about how to: